How to Help a Heat Pump Perform Better in a Poorly Insulated Home
A heat pump does not operate in isolation. Its real-world performance depends heavily on the building around it, especially in homes where insulation is patchy, older, or inconsistent from one room to the next.
That creates a common worry: if the attic is underinsulated, the basement is drafty, or some walls are better insulated than others, will a heat pump still be worth it? In many homes, the answer is yes, but only if expectations are realistic and the biggest weak points are addressed first.
The good news is that you usually do not need a full gut renovation to support better heat pump performance. Targeted insulation upgrades, careful air sealing, and ductwork improvements can reduce unnecessary thermal losses and help the system maintain comfort more steadily. That matters for both day-to-day comfort and broader home energy resilience, because a tighter, better-managed home places less strain on heating and cooling equipment.
This guide focuses on practical steps you can take before or alongside a heat pump installation, especially if your budget only allows selective improvements.
Assessing Insulation Gaps in Your Home
The first step is figuring out where your home is losing heat or gaining unwanted heat. In an inconsistently insulated home, the problem is often not just "too little insulation" overall. It is that some parts of the home perform much worse than others.
A home energy audit can help identify those weak spots. Thermal imaging can reveal temperature differences across ceilings, walls, and floors. A blower door test can help show where outside air is entering the home. Together, those tools can separate major problems from minor ones, which is useful if you need to prioritize.
Pay special attention to areas that commonly create uneven performance.
- Attics and attic hatches
- Basement rim joists and foundation transitions
- Crawlspaces
- Knee walls and bonus rooms over garages
- Exterior wall cavities in older homes
- Floors above unconditioned spaces
Attics, basements, and wall cavities are often the most important places to inspect because they can create large temperature differences that force a heat pump to run longer to maintain comfort. Envelope research and renovation guidance consistently point to these areas as high-impact parts of the home shell.
It also helps to compare existing insulation levels with locally recommended ranges rather than assuming any visible insulation is adequate. An attic with some insulation may still be underperforming. The same goes for walls that were insulated unevenly during past renovations.
If you are deciding what to tackle first, use this simple triage checklist.
| Area | What to look for | Why it matters for heat pump performance |
|---|---|---|
| Attic | Thin coverage, gaps, compressed insulation, unsealed hatch | Heat rises into the attic in winter and enters from above in summer |
| Basement or crawlspace | Drafts, exposed rim joists, uninsulated foundation sections | Cold air infiltration can make floors and lower rooms harder to condition |
| Exterior walls | Cold wall surfaces, uneven room temperatures | Weak wall sections increase room-by-room comfort problems |
| Floors over garages or porches | Cold floors, temperature swings | These rooms often need more heating input than the rest of the home |
| Mechanical chases and utility penetrations | Open gaps around pipes, wires, vents | Small openings can add up to significant air leakage |
For renters, a full audit may not be realistic. But you can still observe patterns such as rooms that are always colder, drafty outlets on exterior walls, or attic-access panels that feel noticeably cold or warm. Those clues can help guide lower-cost fixes or conversations with a landlord.
Sealing Air Leaks to Improve Thermal Performance
Once you know where the weak points are, air sealing usually deserves attention before adding more insulation. If conditioned air is escaping through gaps and cracks, insulation alone may not deliver the comfort improvement you expect.
This matters for heat pumps because they work best when the home can hold temperature more consistently. A leaky home can cause longer runtimes, more noticeable room-to-room variation, and more frequent comfort complaints even when the equipment itself is properly selected.
Common low- to moderate-cost air sealing targets include the following.
- Window trim and door frames
- Door thresholds and weatherstripping
- Plumbing penetrations under sinks and behind appliances
- Electrical penetrations into attics, basements, and crawlspaces
- Recessed lights and attic bypasses, where accessible and safe to address
- Attic hatches and pull-down stairs
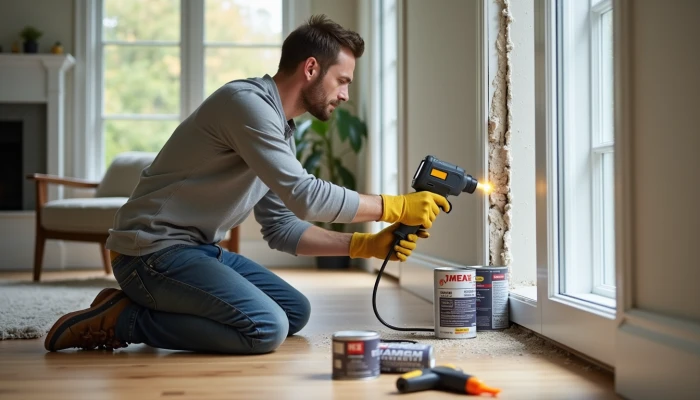
Caulk and weatherstripping are often practical first steps for smaller gaps around windows and doors. For larger openings or awkward transition areas, rigid foam board can be useful in places such as attic hatches, basement walls, or other larger gaps where both air sealing and added insulation are needed.
A good rule is to start with the biggest leaks you can safely identify rather than chasing every tiny draft first. Practical implementation guidance often emphasizes that major leakage sites, especially near attics, can have a larger effect than scattered minor gaps.
If you are planning the work in stages, this sequence is usually more effective.
- Identify large leakage paths.
- Seal obvious openings around penetrations and access points.
- Improve weatherstripping at doors and operable windows.
- Add or upgrade insulation after the main leakage paths are reduced.
That order helps prevent a common mistake: paying for more insulation while the home is still losing conditioned air through bypasses and cracks.
For households thinking about outage planning as part of home energy resilience, air sealing also has a side benefit. A tighter home tends to hold indoor temperatures longer during a power interruption. That does not replace backup power, but it can reduce how quickly comfort drops. If you use a portable power station during short outages, a better-sealed home may also make it easier to maintain essential comfort in one room while using less limited backup energy.
Not every air leak is a DIY job. If you suspect major attic bypasses, combustion safety issues, moisture problems, or hidden wall cavities that connect to unconditioned spaces, it is worth getting professional guidance before sealing aggressively.
Optimizing Ductwork for Heat Pump Efficiency
Even if the insulation and air sealing work is solid, duct losses can still undermine heat pump performance. This is especially true when ducts run through attics, crawlspaces, garages, or other unconditioned areas.
Leaky or poorly insulated ducts can waste conditioned air before it reaches the rooms that need it. That can make some spaces feel underheated or undercooled, which often leads people to blame the heat pump when the delivery system is part of the problem.
Start with a visual inspection where ducts are accessible.
- Look for disconnected sections or visibly loose joints.
- Check for damaged outer insulation on duct runs.
- Note any ducts routed through very hot or very cold spaces.
- Look for dust streaks near joints, which can suggest leakage.
If ducts pass through unconditioned spaces, insulating those runs can help reduce losses. Sealing joints with mastic or appropriate metal tape is also commonly recommended. The goal is to keep conditioned air inside the ducts until it reaches the living space.
Use this quick decision table to prioritize ductwork fixes.
| Duct issue | Likely effect | Practical response |
|---|---|---|
| Leaky joints | Conditioned air lost before delivery | Seal joints with mastic or metal tape |
| Uninsulated ducts in attic or crawlspace | Heat gain or loss during transport | Add duct insulation where feasible |
| Crushed or kinked flexible duct | Reduced airflow to rooms | Repair or replace damaged sections |
| Disconnected duct sections | Severe comfort problems in affected rooms | Reconnect and seal properly |
| Registers blocked by furniture or rugs | Poor room airflow | Clear obstructions before assuming equipment problems |
If your home has persistent hot and cold spots, duct balancing may also be worth discussing with an HVAC professional. A heat pump can only perform as well as the distribution system allows.
This section is especially important in older homes where envelope improvements happened in stages. You may end up with a house that is partly improved but still has ducts losing energy in neglected spaces. In that situation, ductwork optimization can be one of the more practical ways to support home energy efficiency without a full remodeling project.
For renters in ducted homes, options may be limited, but you can still check for blocked registers, obvious disconnected vents in accessible utility areas, or severe drafts around duct boots. Those observations can help support a maintenance request.
Conclusion
A heat pump in a poorly insulated home does not automatically fail, but it does have to work harder when the building envelope and duct system are full of weak points. That is why the most useful approach is usually targeted, not all-or-nothing.
Start by assessing insulation gaps so you know where the biggest losses are happening. Then focus on sealing air leaks, especially the larger ones. After that, make sure ductwork is not wasting the heating or cooling you are paying for.
These steps can improve comfort and support better system performance without requiring a complete home overhaul. They also fit a realistic approach to home energy resilience: reduce the load first, then expect more from the equipment you already have or plan to install.
If your budget is limited, prioritize the areas that combine high heat loss, obvious drafts, and easy access. That kind of selective work is often the most practical path to better heat pump results in an imperfect home.